This is my favorite way to make coffee. It combines all the precision, technique to emphasize all the best notes in a cup of coffee.
Not all pour overs are made equal. There’s only two standout options, and the rest fade into the background. Let’s talk why.
How Does It Work?
A pour over works by placing the grounds in a funnel over a carafe or mug, and pouring the water over the coffee grounds, hence the moniker. The funnel either is a mesh metal filter or a paper filter, more on this later. The water trickles down, extracting the flavor and caffeine from the grounds. This method doesn’t let grounds over steep, and means water is constantly flowing down and away of the grounds. There’s a bit of technique and a steady hand required to get the ideal flow going. Too heavy of a hand and the water sits for too long, too light of a hand and not enough water passes through before everything cools down. I’m making it sound harder than it seems, so bear with me. But all to say you can’t simply pour all the water in like a French Press and walk away for 5 minutes. There’s more activity involved here but it is so worth it.
Why the Pour Over?
The pour over is perfect for letting us taste the nice delicate flavors formed by the sugars developed within the bean. I covered this briefly in the Coffee Guide Part III, but the sugars develop over time and form nutty, floral, spicy, or fruity notes. The pour over is delicate enough that we can taste these notes without anything to mask them. Coffee tasting becomes more like wine tasting.
We use a light roast, because as described, the sugars are in their prime to showcase the flavors highlighted during the Maillard reaction. I judge the quality of a roastery by their light roast, because in a light roast it becomes nearly impossible to hide the imperfections in the beans or in the roaster’s skill. Everything is on display.
Metal Vs Paper Vs… Paper?
Step aside Dwayne, no room for you in this matchup. There’s a few different filter choices here, one comes as a bad option, another as an imperfect option, and the ideal choice.
The cheap paper is going to be very thin, as thin as a drip machine filter. This won’t catch the oils that a good paper filter is designed to extract, and clouds the taste of the coffee with bitter notes. These are often on cheap pour overs, designed to mimic our two better options. These cheaper pour overs often aren’t the ideal angle, or at the best hole size to maintain proper flow, leading to a less than ideal cup. Often these ones are paired with boiling water and the wrong level of flow to make one mediocre cup of coffee.
The metal filter comes from the French press style, where there isn’t a thick paper filter to block any oils, so the oils flow into the brewed coffee, creating a thicker mouthfeel cup. This isn’t a bad thing, it is a full body cup great for quite a few roasts. However, a pour over is best utilized to create a more delicate cup, and a metal filter is a bit counterproductive there.
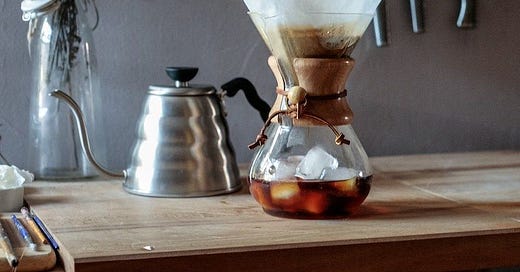
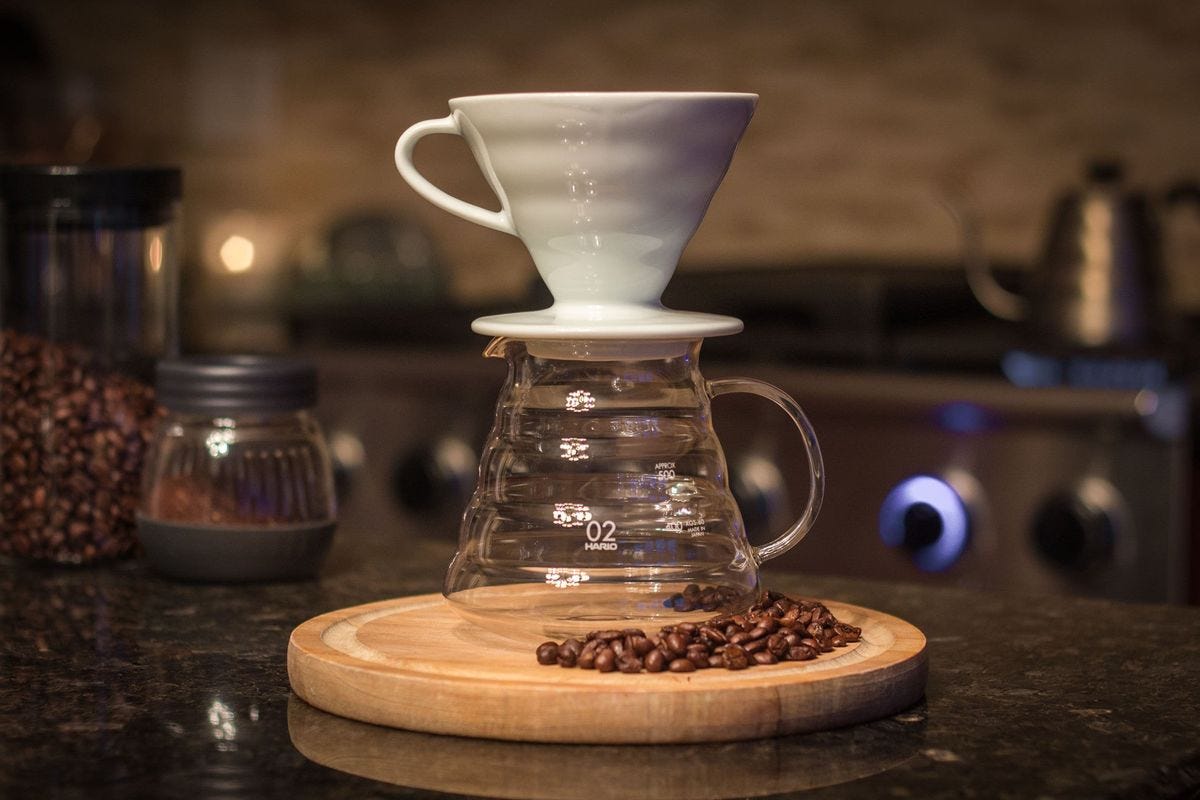
Our final filter comes from our two best competitors, the V60 and Chemex. These filters are thick paper, thicker than a napkin, and they absorb most of the oils before they enter the cup, creating a very thin and delicate structure perfect for highlighting all those unique flavors.
The Best of the Best
The V60 and Chemex, no questions asked. The angle of the cones, material (ceramic and glass respectively), filter quality and thickness, all lend themselves to the best tool for the job (One niche exception, thanks Octopod for pointing it out).
These are my go to’s. Both do the same job in my opinion, but are best used by two different kinds of people. The Chemex is a glass carafe, and best for those wanting something pretty, and to serve multiple people at once. The V60 is better for those needing space and serving one person at a time. I’ve used both, I currently am rocking a Chemex; because I am not a hermit and have people over on occasion, but no, I don’t make eye contact.
Process
We start by weighing out our grounds, the standard ratio I use is 8g to 140g water per “cup” of coffee. I typically drink 3 “cups” of coffee in a sitting, about 200mg of caffeine.
Get your water heating, setting the kettle to 200F to avoid burning the grounds. We use a gooseneck kettle here to help us maintain a consistent pour.
We then grind to a medium coarseness, about breadcrumb size.
Set up you pour over + filter and wait for the water to heat.
Once ready, pre-wet the filter with a touch of water, just so it sticks to the sides and settles nicely. Dump in the grounds. Now you’re going to take about a quarter of the water (enough to soak the grounds thoroughly) and pour that in a circular motion over the coffee, it will begin to bubble as the carbon dioxide escapes the beans in the degassing process. This is called blooming the coffee, as it opens it up to let it steep out those unique flavors.
Let the grounds sit for 30 seconds, then begin to pour in the remaining water in a circular motion. Be gentle and have a steady hand here. You don’t want water to pool too heavily on top. The pouring doesn’t need to be constant.
And there you go. Delicious coffee. A light roast is the best for a pour over, as it allows the delicate flavors to shine, but use a pour over to test any roast and see what flavors you can find. Have a mini cupping session, use a wine glass here so you can better taste and smell the coffee - even as it cools.
Equipment Recommendations
Chemex or Ceramic V60
Bleached filters (less papery taste)


Beautiful write up, thank you!
Pour over take a little longer, but that’s not a bad thing in the morning. Ceremony turns habit into a pleasure